Joinery · 10 min read
The 5-Minute Guide to Perfect Miters (Even With a Cheap Saw)
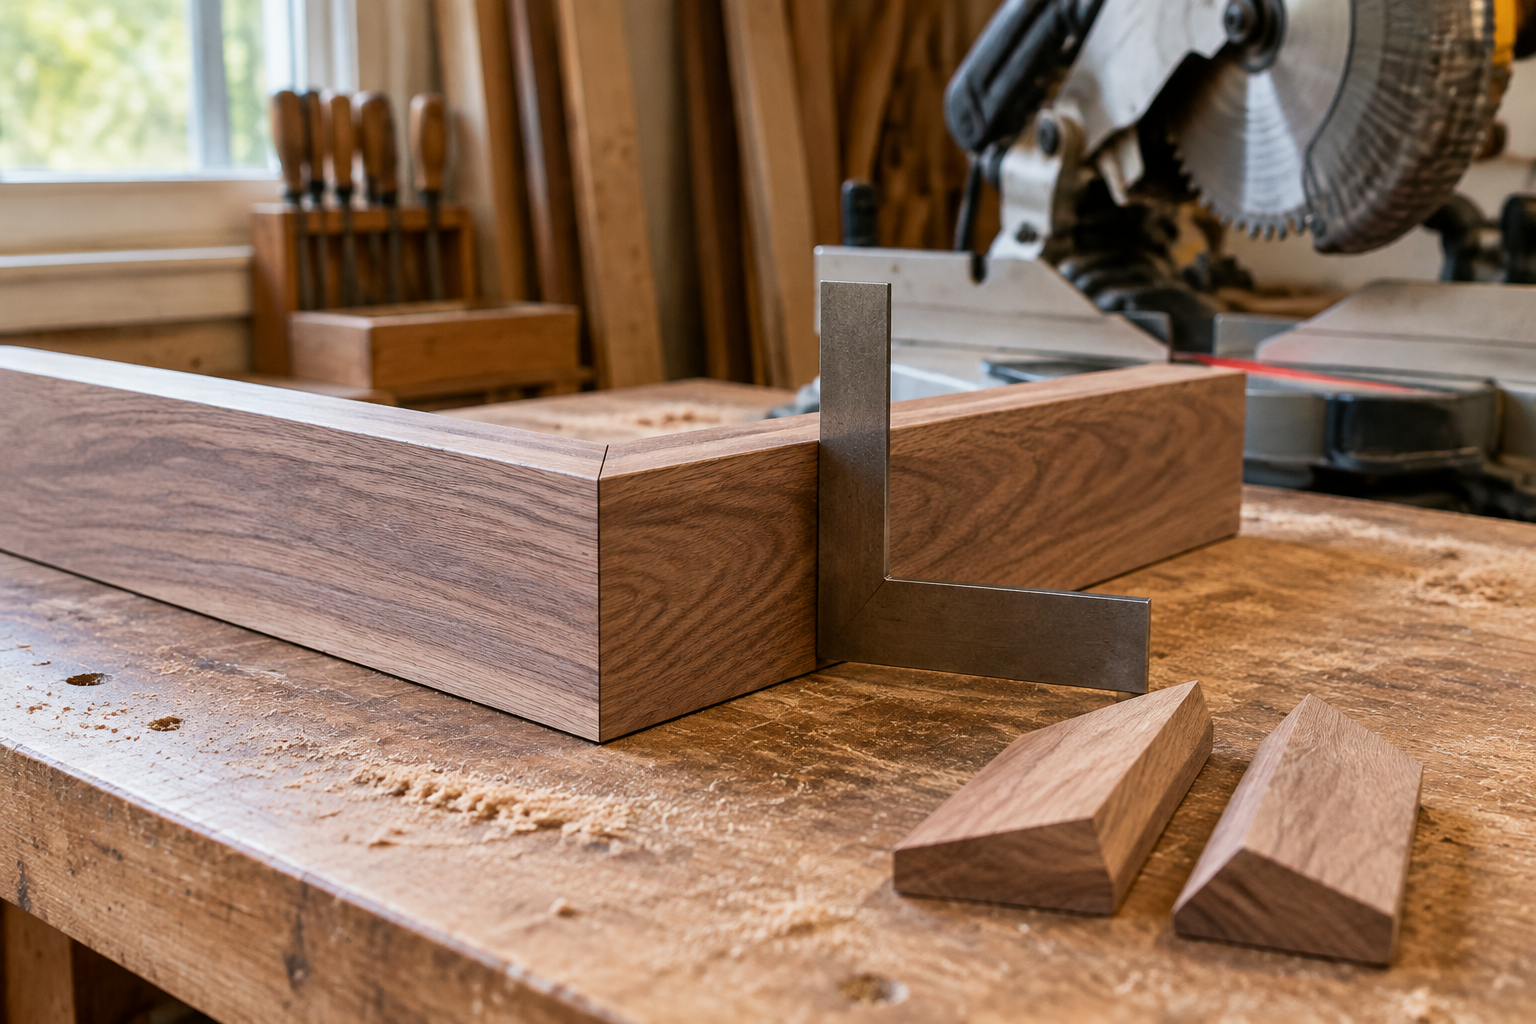
Perfect miter corners come from three things: a verified cutting angle, matching part lengths, and stock that sits flat against the saw’s fence. Even an inexpensive miter saw can make tight joints if you test its actual cuts instead of trusting the 45-degree detent—and correct gaps before reaching for glue.
The five-minute miter check before cutting good stock
This quick check assumes your saw is securely mounted, its blade is serviceable, and your scraps are long enough to hold safely. It can reveal a problem in five minutes; repairing a crooked fence or damaged blade takes longer.
- Check the seating surfaces. Remove chips from the table and fence. Put a straight scrap against the fence and check that it doesn’t rock.
- Cut two test miters. Use scraps with the same width and thickness as your project. Mark their reference faces and cut the two mating ends using your intended cutting setup.
- Check the assembled corner. Bring the cuts together on a flat surface and place a reliable square against the outside edges. Don’t squeeze the joint hard enough to bend the pieces.
- Inspect the gap. A wedge-shaped opening suggests an angle problem. A joint that closes on top but opens underneath suggests a bevel or seating problem.
- Make one small adjustment and retest. Change only the setting responsible for the error. Once the test joint closes and reads square, lock the saw and cut a fresh confirmation pair.
Keep one successful test corner nearby. It gives you a reference if the setup gets bumped halfway through a frame.
Why a cheap miter saw can still cut accurate corners
A low-cost saw may have a sloppy angle pointer, a slightly inaccurate detent, or a fence that needs adjustment. None automatically prevents accurate work. What matters is whether the machine holds its position and produces repeatable cuts.
A saw that consistently cuts a little off can often be adjusted. A saw whose head shifts unpredictably under light cutting pressure needs repair, not a clever workaround.
Check the blade, fence, and bevel separately
Disconnect power or remove the battery before inspecting the blade or making mechanical adjustments. Follow the saw manual for adjustment points.
- Blade: Look for missing teeth, heavy pitch buildup, or visible damage. Use a sharp blade intended for crosscutting and compatible with your saw’s diameter, arbor, and speed rating.
- Fence: Place a reliable straightedge across both fence halves. They should align without a step or bow. Keep adjustable fence sections clear of the blade’s full travel.
- Bevel: With the bevel set to zero, check the blade plate against the table using a square. Avoid touching a projecting carbide tooth, which can give a false reading.
- Miter: Check a square crosscut first, then verify the 45-degree setting with actual mating cuts.
An appropriate replacement blade often costs roughly $35–$80, depending on size and construction. That’s an estimate, not a requirement to spend money: first find out whether your current blade is actually causing the problem.
Start with flat, straight stock
A twisted board can sit differently on consecutive cuts, producing different angles even when the saw never moves. For accurate frames, prepare consistent stock and mark one reference face and edge.
For example, four rails milled to 3/4 inch (19 mm) thick and 2 inches (51 mm) wide should share those dimensions throughout their lengths. A width change alters where the inside points meet, even when the outside dimensions are correct.
Don’t force a bowed piece flat for one cut and let it relax for the next. Straighten or replace it.
Set the miter angle from the joint, not the pointer
For a square corner made from equal-width pieces, each piece gets a 45-degree miter. On most miter saws, zero means a square crosscut, so the displayed miter setting is the departure from that square cut.
The Miter & Bevel Angles Calculator helps work out settings for other layouts. A regular six-sided frame uses 30-degree miter settings; a regular eight-sided frame uses 22.5 degrees. Crown molding is a different setup because its installed tilt introduces additional geometry.
Small errors matter. If two mating cuts each contribute 0.2 degree of error in the same direction, the assembled corner is off by 0.4 degree. Across a 2-inch (51 mm) span, that produces roughly 0.014 inch (0.36 mm) of separation—nearly 1/64 inch (0.4 mm), which is easy to see against dark wood.
Read miter gaps before adjusting anything
Use this comparison to separate angle errors from other problems:
| What you see during dry assembly | Likely cause | What to check first |
|---|---|---|
| Inside points touch; outside points stay open | Combined miter angles don’t match the intended corner | Test two scraps against a square; adjust and recut |
| Outside points touch; inside points stay open | Combined angle error in the opposite direction | Verify the corner angle without forcing it closed |
| Top closes; bottom remains open | Blade bevel error, tilted stock, or trapped debris | Check blade-to-table square and stock seating |
| Joint fits alone but opens in the complete frame | Unequal opposite lengths, accumulated angle error, or twist | Compare paired rails, then check all four corners |
| Face has ridges, burning, or a rounded exit | Dull or dirty blade, movement, or cutting pressure | Inspect blade and improve support and feed |
Avoid memorizing “turn the saw left to fix an outside gap.” The correct adjustment depends on which mating cut you change and how the piece is oriented. Make a tiny adjustment on scrap, label it, and compare the result.
A tight two-piece joint isn’t proof of a square corner: two incorrect cuts can meet perfectly at the wrong angle. Check both fit and squareness.
Match frame lengths without measuring every piece
A rectangular frame needs equal opposite sides as well as correct angles. If one long rail is longer than its partner, a clamp can hide the mismatch temporarily by distorting the assembly.
Choose long-point or short-point dimensions
On a flat frame rail:
- Long point to long point measures the outside length.
- Short point to short point measures the opening along the inside edge.
For 45-degree miters, outside length equals inside length plus twice the rail width. A 12-inch (305 mm) opening surrounded by 2-inch-wide (51 mm) rails requires those rails to measure 16 inches (406 mm) between long points.
That example assumes plain rails. A picture-frame rabbet changes the relationship between the visible opening and the recess holding the artwork. Allow clearance for the actual glazing, mat, or panel rather than treating all three dimensions as interchangeable. Use the Picture Frame Cut Calculator to plan the relevant dimensions before cutting.
Use one master length and a safe stop setup
Cut the first end of each rail, then establish the finished length of one long rail and one short rail. Use those as masters or set up a stop to repeat each length.
A stop should locate the retained workpiece without trapping a loose offcut between the stop and blade. Clamp the retained piece where appropriate, keep the waste side clear, and follow your saw’s guidance for repetitive cuts. A sharp miter tip can slip under a poorly positioned stop, so verify where the stop actually contacts the piece.
Compare matching rails directly: place them alongside one another, align one pair of corresponding points, and inspect the other end. This catches differences more reliably than separate tape-measure readings.
The Cut List & Waste Optimizer can help allocate stock, but include your actual blade kerf and extra material for test cuts and end trimming. Don’t plan on every rough board end being usable.
Cut clean miters without pushing the blade sideways
Support long stock at the same height as the saw table. A support that’s too high tilts the board; one that’s too low lets the far end drop and lift the work near the blade.
Wear eye and hearing protection, use dust collection, and add appropriate respiratory protection when dust exposure warrants it. Keep hands outside the manufacturer’s specified blade-clearance zone. Never hold a tiny cutoff near the blade; cut small parts from longer blanks using a suitable holding fixture.
For consistent cuts:
- Seat the reference face on the table and the reference edge against the fence.
- Clamp the stock without bowing it or lifting an edge.
- Let the blade reach full speed before entering the wood.
- Feed smoothly without forcing the handle sideways.
- Follow the manual’s cutting sequence for a sliding saw; don’t pull a spinning blade toward yourself through the work.
- After the cut, release the trigger and let the blade stop before raising it.
Cut just to the waste side of the layout line, then check the result. Repeatedly shaving nearly nothing from an unsupported pointed end can produce inconsistent cuts or tearout.
If the saw leaves a slight but repeatable error, a properly set up miter shooting board and sharp hand plane can refine the surface. Don’t freehand-sand the mating faces: it’s surprisingly easy to round them and trade one gap for another.
Dry-fit and glue miter corners without forcing them
Assemble all four rails on a flat surface before applying glue. Check every corner, confirm opposite sides match, and measure the diagonals between consistent reference points.
Equal diagonals are a useful check for a rectangular assembly, but they don’t excuse curved rails, twisted stock, or visibly open corners. The Diagonal & Squareness Calculator gives the expected diagonal for your planned dimensions.
Use clamps to hold the fit, not create it
For a small, accurately fitted frame, a band clamp with corner blocks applies convenient pressure around the perimeter. Protect delicate outside points and keep the frame flat as you tighten.
Painter’s tape also works as an assembly aid for small, light parts: tape across the closed joints on their outside faces, open them carefully, apply glue, and fold them together. Test the tape on delicate surfaces first. It isn’t a substitute for proper clamping on large or demanding assemblies.
Spread a thin, continuous coat of wood glue across both mating surfaces and follow the adhesive manufacturer’s assembly and clamping instructions. Miter faces expose absorbent grain; check that glue hasn’t soaked in so completely that the surface looks dry before assembly.
Use only enough pressure to seat the joint. Heavy pressure can slide the points past each other, bow the rails, or crush softwood corners.
A clean-looking miter isn’t automatically a strong structural joint. Large frames and load-bearing corners may need splines, keys, or another reinforcement appropriate to the design. Allow the specified cure time before machining reinforcement slots or putting the assembly under load.
Common mistakes when cutting miter corners
- Trusting the detent without testing. It’s a starting position, not a guarantee of an accurate assembled corner.
- Changing miter and bevel together. Correct one variable at a time so you know what fixed the problem.
- Measuring every rail independently. Repeat lengths from a master or stop instead of accumulating marking errors.
- Switching reference faces casually. Small stock irregularities can change how the piece seats.
- Clamping an open corner until it disappears. The stress can reopen the joint or distort the frame.
- Filling a geometry problem. Filler may conceal a tiny cosmetic defect, but it won’t correct an incorrect angle or strengthen a poorly fitted glue line.
- Skipping the final test after tightening adjustments. Locking a mechanism can shift its setting slightly. Confirm with another cut.
FAQ
Why are my 45-degree cuts not making a square corner?
The saw’s actual cut may differ from its scale, the blade may be beveled slightly, or the stock may not sit flat. Test two fresh cuts against a reliable square before changing project dimensions.
Can I get tight miters with the blade that came with my saw?
Yes, if it’s sharp, undamaged, and suitable for clean crosscuts. Test it first. A better blade can improve surface quality, but it cannot fix unequal rails, a misaligned fence, or a loose saw head.
Should I cut both mating miters with the same saw setting?
You can, provided the part orientation produces the correct mating geometry and remains safe and well supported. Using one setting avoids differences between left and right detents. With profiled or rabbeted molding, changing settings may be more practical; test both positions.
How do I fix a tiny gap after glue-up?
For paint-grade work, a compatible filler can conceal a small cosmetic gap after the glue cures. Clear-finished wood is less forgiving. A substantial gap or loose joint usually calls for repair or remaking the part, not packing it with glue and sawdust.
Do perfect miters stay closed through seasonal changes?
Not always. Wood moves across its grain, and wide solid-wood rails can stress miter joints as humidity changes. Use acclimated stock, consider rail width and grain orientation, and avoid rigidly trapping a solid-wood panel inside the frame.
What should I read next?
Recommended tools
Digital Angle Gauge
Dial your blade in to 0.1°
View on Amazon →
Laser Tape Measure
Measure long spans solo, fast
View on Amazon →
Titebond III Wood Glue
Waterproof and stronger than the wood
View on Amazon →
As an Amazon Associate we earn from qualifying purchases.
Need ready-to-build plans?
5 complete build plans with cut lists — $14.